
| Workshop | Empennage | Wings | Fuselage | Contact |
| <-- July 2013 | September 2013 --> |
Chronological Updates, August, 2013
1 Aug 2013
The right wing is starting to look very complete (as long as you aren't looking at it from the bottom, where it is still missing quite a bit of skin, or from the outboard end, where it is obvious that the wingtip is missing...).
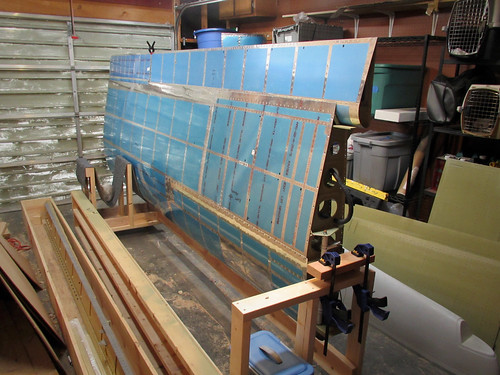
I looked through my electrical system plans to see what sort of wiring needed to be done in the right wing and found that almost all of the electrical devices are either in the wing root or at the wing tip, with the exception of the autopilot servo and the outside air temperature sensor. The AP servo has to go in the bellcrank bay of the main body, but the OAT sensor can basically go anywhere, so I figured I'd just put it in or near the same bay, meaing there was only one place in the middle of the wiring conduit where wires had to be extracted. I took an exacto knife to the conduit a ways outboard of the bellcrank and left the following hole:
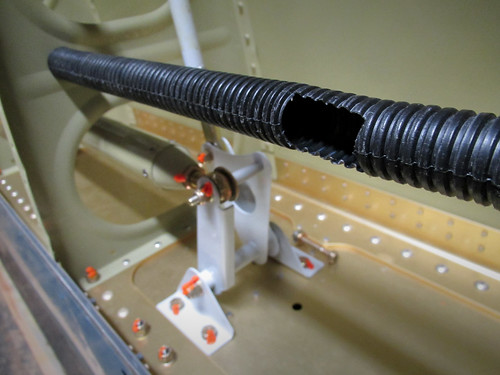
I haven't committed to a particular AP servo yet, so I don't know what sort of bracket I'll need to get/make for it. Until I know for certain, it'll probably mean I don't attach the outboard bottom wing skin. For the time being, I don't need to run any wires; I'll probably get to that when I do the wing tip. I can go ahead and attach the inboard bottom wing skin, though, so that is now green lit and on the list of things that could happen whenever I have a suitable assistant. In the meantime, the right wing sits mostly-complete in the garage.
3 Aug 2013
I hadn't quite been able to finish both fuel tanks because I seemed to be missing a VA-146 bearing for the left forward attach bracket. I ordered a replacement and it has now arrived, so tonight I put the last few accessories into the left fuel tank. These included the aforementioned bearing as well as the shim plates and nutplates on the attach bracket flanges. Additionally, I put snap bushings into the lower hole in each of the Z attach brackets to allow for a wire harness to connect the inboard bay of the left leading edge to the wing root.
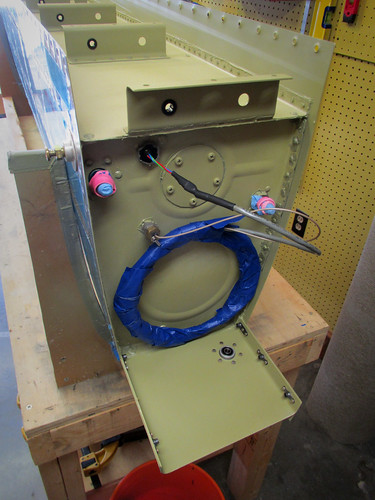
All of the holes in the inboard fuel tank rib are covered with nitrile glove fingers and rubberbanded to keep bugs and dust out of the tank. The tank is now officially done aside from painting the skin, and has been moved into the garage for storage until the left wing is ready to have it attached.
6 Aug 2013
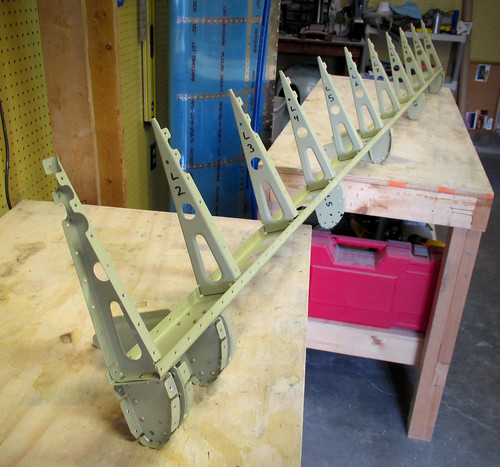
With the workbenches free of fuel tanks, finally, I pulled out the parts for the left flap and set to work on final assembly. The skeleton went together reasonably quickly. It should be noted that one of the main ribs in this flap was the 2,000th part to go into the airplane!
From there, the top and nose skins are clecoed on and the top skin is riveted on to the ribs and spar. One of the rivets attaching the top skin to the main flap spar was the 11,000th rivet in the airplane!
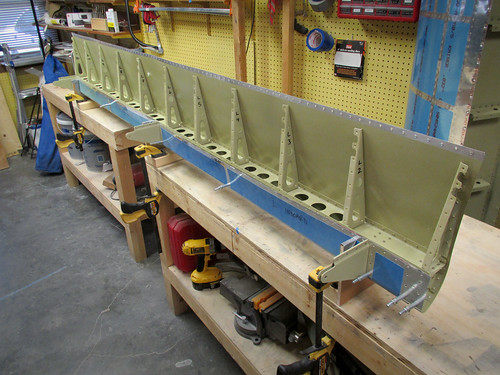
Next, the bottom skin is slid into place and riveted to the spar. With both sides of the spar riveted on, the remaining nose rib rivets are blind-riveted into place.
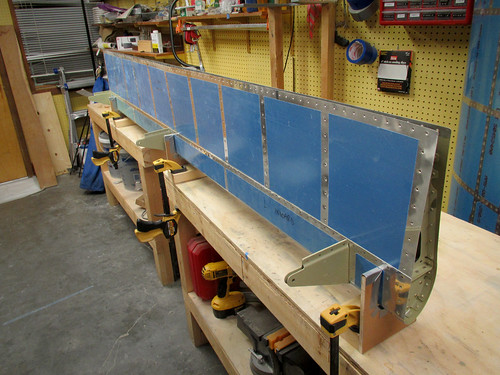
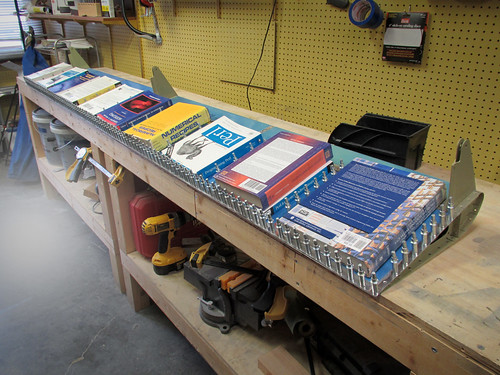
Finally, the trailing edge extrusions are coated in ProSeal and placed between the top and bottom skins. Every hole is clecoed and the bottom skin is clecoed to the ribs. I placed books on the flap to keep it flat against the workbenches. Here it will stay until the sealant has cured—a week or two.
The remaining work on this flap will go very quickly once the trailing edge sealant has cured.
13 Aug 2013
A week has gone by since I put the sealant on the trailing edge of the left flap, so I removed the clecos and back-riveted the trailing edge using a 6' piece of angle iron clamped to the side of my workbench.
I'm very happy with the results; the trailing edge is very straight. I went ahead and finished off a few remaining rivets on the outermost rib and now the sub-assembly is complete. It's sitting in storage until I finish off the left wing main body.
30 Aug 2013
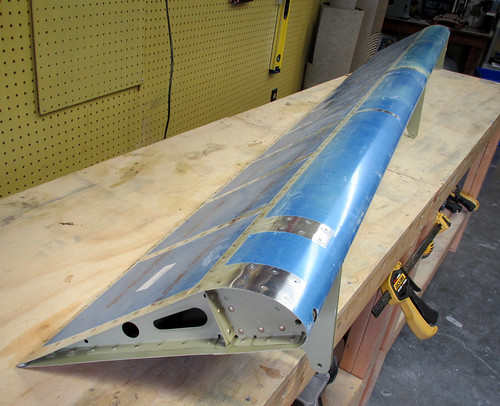
I spent one of the past two weeks out of state mountaineering, but before I left I got sealant put down on the left aileron trailing edge so that it could cure while I was gone.
When I returned home, finishing up the left aileron took about an hour of back-riveting plus a bit of time to bolt on the two hinge weldments. The results look good.
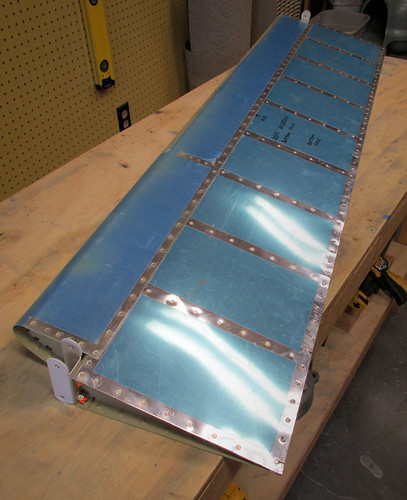
And here's a closeup of the inboard hinge weldment in place:
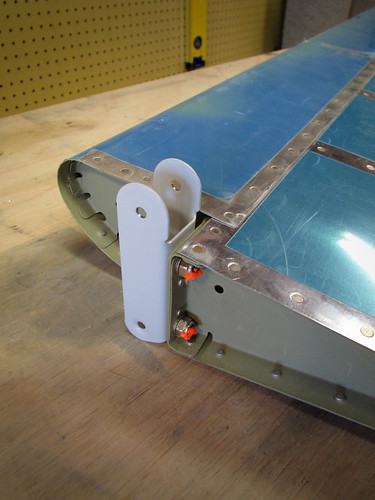
Now both ailerons are complete per the plans are in storage until the main wing bodies are complete.
The right wing is starting to look very complete (as long as you aren't looking at it from the bottom, where it is still missing quite a bit of skin, or from the outboard end, where it is obvious that the wingtip is missing...).
I looked through my electrical system plans to see what sort of wiring needed to be done in the right wing and found that almost all of the electrical devices are either in the wing root or at the wing tip, with the exception of the autopilot servo and the outside air temperature sensor. The AP servo has to go in the bellcrank bay of the main body, but the OAT sensor can basically go anywhere, so I figured I'd just put it in or near the same bay, meaing there was only one place in the middle of the wiring conduit where wires had to be extracted. I took an exacto knife to the conduit a ways outboard of the bellcrank and left the following hole:
I haven't committed to a particular AP servo yet, so I don't know what sort of bracket I'll need to get/make for it. Until I know for certain, it'll probably mean I don't attach the outboard bottom wing skin. For the time being, I don't need to run any wires; I'll probably get to that when I do the wing tip. I can go ahead and attach the inboard bottom wing skin, though, so that is now green lit and on the list of things that could happen whenever I have a suitable assistant. In the meantime, the right wing sits mostly-complete in the garage.
3 Aug 2013
I hadn't quite been able to finish both fuel tanks because I seemed to be missing a VA-146 bearing for the left forward attach bracket. I ordered a replacement and it has now arrived, so tonight I put the last few accessories into the left fuel tank. These included the aforementioned bearing as well as the shim plates and nutplates on the attach bracket flanges. Additionally, I put snap bushings into the lower hole in each of the Z attach brackets to allow for a wire harness to connect the inboard bay of the left leading edge to the wing root.
All of the holes in the inboard fuel tank rib are covered with nitrile glove fingers and rubberbanded to keep bugs and dust out of the tank. The tank is now officially done aside from painting the skin, and has been moved into the garage for storage until the left wing is ready to have it attached.
6 Aug 2013
With the workbenches free of fuel tanks, finally, I pulled out the parts for the left flap and set to work on final assembly. The skeleton went together reasonably quickly. It should be noted that one of the main ribs in this flap was the 2,000th part to go into the airplane!
From there, the top and nose skins are clecoed on and the top skin is riveted on to the ribs and spar. One of the rivets attaching the top skin to the main flap spar was the 11,000th rivet in the airplane!
Next, the bottom skin is slid into place and riveted to the spar. With both sides of the spar riveted on, the remaining nose rib rivets are blind-riveted into place.
Finally, the trailing edge extrusions are coated in ProSeal and placed between the top and bottom skins. Every hole is clecoed and the bottom skin is clecoed to the ribs. I placed books on the flap to keep it flat against the workbenches. Here it will stay until the sealant has cured—a week or two.
The remaining work on this flap will go very quickly once the trailing edge sealant has cured.
13 Aug 2013
A week has gone by since I put the sealant on the trailing edge of the left flap, so I removed the clecos and back-riveted the trailing edge using a 6' piece of angle iron clamped to the side of my workbench.
I'm very happy with the results; the trailing edge is very straight. I went ahead and finished off a few remaining rivets on the outermost rib and now the sub-assembly is complete. It's sitting in storage until I finish off the left wing main body.
30 Aug 2013
I spent one of the past two weeks out of state mountaineering, but before I left I got sealant put down on the left aileron trailing edge so that it could cure while I was gone.
When I returned home, finishing up the left aileron took about an hour of back-riveting plus a bit of time to bolt on the two hinge weldments. The results look good.
And here's a closeup of the inboard hinge weldment in place:
Now both ailerons are complete per the plans are in storage until the main wing bodies are complete.
| <-- July 2013 | September 2013 --> |